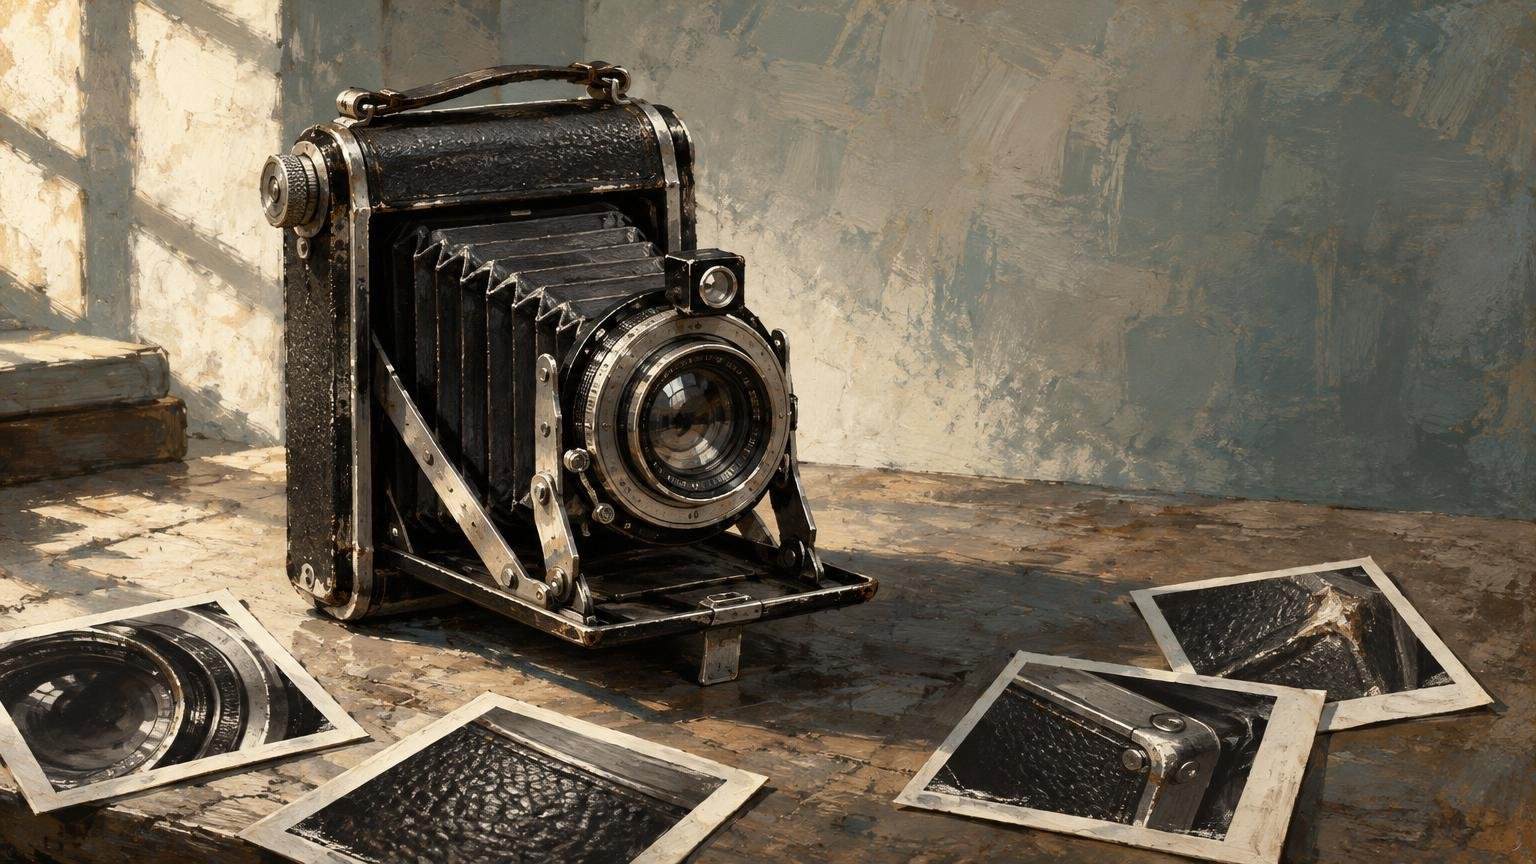
TLDR: When learning how to photograph a vintage camera for an online listing, treat the session as both product photography and visual inspection. Make the first frame attractive, then use the remaining photographs to identify the exact camera, show every side, reveal visible defects, document included accessories, and clarify what was or was not tested. Soft light makes the camera readable; selective side lighting makes wear readable.
A polished hero photograph may earn the click, but buyers make decisions from the less glamorous frames: the scratched baseplate, cloudy lens, clean battery compartment, worn bellows corner, or serial number tucked beneath a rewind knob. The best listing sequence lets a buyer admire the object and inspect it without pretending that photographs can prove mechanical reliability.
Prepare the camera without erasing its history
Begin on a stable table covered with a clean, soft, neutral material. Remove straps or loose accessories if they could pull the camera off balance, then photograph them separately. Support folding cameras and unusual body shapes so they cannot roll, tip, or place strain on an old hinge. Preventive-conservation guidance from the Canadian Conservation Institute emphasizes secure support and minimizing handling risks around potentially fragile objects. Its collection-care guidance is useful when the camera has brittle leather, loose trim, corrosion, or uncertain structural condition.
Limit preparation to gentle, non-invasive dust removal. A clean blower and a soft exterior brush may be appropriate when used cautiously, but do not polish away patina, scrub corrosion, apply dressing to leatherette, or dismantle the camera for the sake of a photograph. Cleaning can alter the condition you are supposed to document, and loose particles can scratch glass or painted surfaces.
If a control resists, stop. Do not force a film door, shutter, focusing rail, battery cover, or folding mechanism merely to complete a shot list. Photograph the obstruction and describe it. An incomplete but truthful view is better than fresh damage caused by an enthusiastic inspection.
Build the lighting around metal, glass, and texture
Place the camera against a plain background that separates it from the body. Mid-gray often works well for a camera containing both black leatherette and bright chrome. White can make dark edges easy to see but may disappear in polished metal; black looks dramatic but can hide grime, missing paint, and dark accessories.
Use one large, diffused light source above and slightly to one side, then place white card opposite it to soften deep shadows. A window through a sheer curtain can work, as can a lamp through proper photographic diffusion. Avoid mixing daylight with warm household lamps because the chrome may turn blue while the covering turns orange. Set a custom or fixed white balance rather than allowing automatic white balance to wander between frames.
Reflective metal does not merely reflect the lamp; it reflects the room. Move white and black cards around the camera until the chrome shows long, controlled tonal bands instead of tiny burned-out spots. The white cards create clean highlights, while a narrow black card can define the edge of a silver control. Keep yourself, the phone, and bright windows out of direct reflections where possible.
Do not make every frame equally soft. Broad light is flattering for the opening view, but low side light—often called raking light—can reveal dents, scratches, lifted covering, engraved lettering, and uneven corrosion. Make a second exposure under that more revealing light when a defect disappears in the attractive setup. The goal is not to make the camera look worse; it is to keep soft light from accidentally hiding its surface.
How to photograph a vintage camera for an online listing: the essential sequence
Start with a three-quarter front view showing the body, lens, major controls, and overall silhouette. Keep the camera level, leave a little breathing room around it, and avoid the wide-angle distortion produced by placing a phone extremely close. Step back and use a moderate focal length or modest optical zoom when image quality allows.
Then work methodically around the object. A repeatable sequence reduces the chance that a damaged corner or missing accessory will be forgotten.
- Three-quarter front hero view with the complete camera visible.
- Straight front view showing the lens mount, lens face, finder windows, and front controls.
- Back view, including the film door, viewing screen, eyepiece, or rear standard.
- Left and right sides, with strap lugs, ports, hinges, and focusing controls visible.
- Top view showing dials, hot or cold shoe, shutter release, rewind controls, and meter display.
- Bottom view showing the baseplate, tripod socket, release controls, labels, and wear.
- Lens markings and front glass, followed by rear glass if it can be shown without unsafe disassembly.
- Model, maker, serial number, and other identifying marks.
- Open film chamber or plate holder area when it opens normally and can be supported safely.
- Every included case, cap, hood, strap, spool, adapter, manual, and detachable accessory.
The US National Archives and Records Administration describes a controlled, documentation-oriented approach to photographing objects. Its Digital Photography for Object Documentation guide is a useful reference for consistent capture rather than improvising each frame. Consistency matters because buyers should be able to compare one side with another without mentally correcting dramatic shifts in angle, exposure, or color.
Add views specific to the camera type
A generic exterior sequence is not enough for every design. For a 35mm or medium-format camera, show the open film chamber, pressure plate, take-up area, and film rails when accessible. Photograph a cloth or metal shutter curtain only in a position reached through normal, gentle operation. Do not touch the curtain or repeatedly cycle an uncertain mechanism for the photograph.
For a folding camera, photograph the bellows fully extended as well as folded. Show every corner and seam from several angles. Place a light outside the bellows and photograph from the darker interior only if the camera can be held securely and the procedure does not require forcing anything. A bright point may indicate a pinhole, but a photograph alone may not reveal every leak.
For an electronic camera, show the battery compartment and contacts. Do not insert a battery when the correct type, voltage, polarity, or state of the electronics is uncertain. Existing corrosion, residue, broken contacts, and missing covers deserve their own sharp frames.
Interchangeable-lens cameras also benefit from a body-cap-off view of the mount and accessible interior, but only in a clean environment and for the shortest practical time. Keep dust control ahead of photographic completeness.
Photograph flaws as located evidence
A close-up without context can be surprisingly unhelpful. Pair each significant defect with two images: a wider frame showing where it is and a closer frame showing its character. This is especially useful for dents, cracks, scratches, corrosion, missing covering, damaged filter threads, residue, bellows wear, and non-original parts.
For small markings, stabilize both the camera and capture device. Use a tripod, copy stand, or improvised phone support, focus on the lettering, and move the light until the engraving separates from the surrounding metal. Keep enough of the nearby control or panel in view to establish the marking’s location. Review the image at full size before moving on; a serial number that looks sharp on a phone screen may be unreadable after upload compression.
Lens defects require more than one lighting angle. Photograph the exterior and normal frontal appearance first. Then use an off-axis light to reveal scratches or internal haze, without presenting flare from the lamp as a defect. Branching marks may be described as “fungus-like” unless they have been competently identified. Likewise, show possible separation, coating marks, dust, or haze clearly without diagnosing what a photograph cannot establish.
Include a ruler only when physical scale is ambiguous, such as a dent, crack, detached part, or unusual accessory. Place it beside the object rather than across a delicate surface. A gray card can help establish neutral color and exposure, but it need not appear in the public listing unless color accuracy is unusually important. Keep a reference frame in the original image set.
Edit for clarity, not cosmetic repair
Appropriate adjustments include exposure correction, neutral white balance, a consistent crop, gentle contrast, modest lens-distortion correction, and careful sharpening. Apply them consistently enough that black covering does not change from charcoal to deep blue between views. Retain the untouched originals in case a buyer asks for another crop or questions a detail.
Do not clone out dust, scratches, corrosion, chipped paint, stains, or background elements that overlap the camera. Avoid aggressive noise reduction that smears engraving and texture. Heavy clarity, saturation, artificial blur, or composited reflections can change how the surface appears. Sensor noise is a capture artifact; added grain is a stylistic effect. Neither should be confused with genuine texture on the camera, and decorative grain has no useful role in condition photographs.
Separate appearance from operation
Photographs can establish visible condition, identity, completeness, and some evidence of care. They cannot prove that shutter speeds are accurate, a meter is calibrated, focus is correct, bellows are fully light-tight, or the camera produces properly exposed film.
Describe testing in layers: what was visually observed, what action was attempted, what happened, and what remains untested. “Shutter released at several settings, but speeds were not measured” is more useful than “works.” “Finder image is visible; focus accuracy was not tested on film” also draws an honest boundary.
If you plan to make functional claims, use a separate inspection process rather than inferring operation from attractive images. This guide to testing a vintage film camera before buying explains why clean glass, intact covering, and a moving shutter do not establish complete working condition.
Check the marketplace rules before publishing
Use photographs of the actual camera, not a cleaner example of the same model. Etsy’s listing-image requirements emphasize original images and accurate representation of an item’s condition, quality, and quantity. For a one-of-one vintage object, actual-item photographs also prevent uncertainty about which scratches, lens, case, or serial number the buyer will receive.
Rules vary by marketplace and can change. At the time represented by the supplied policy, eBay required listing images to represent the item accurately, prohibited additions such as watermarks, added text, borders, and marketing material, and required at least one image measuring 500 pixels on its longest side. Check the current policy immediately before uploading rather than treating those conditions as universal. Also verify the platform’s photo limit, preferred dimensions, accepted file types, cropping behavior, and restrictions on stock imagery or overlays.
Finish with a buyer’s-eye review
Before publishing, view the sequence on a phone and ask whether a cautious buyer can answer four questions: Is this the exact camera being sold? What is included? Where are the visible flaws? What has actually been tested?
If one answer is unclear, make another photograph rather than asking the description to carry all the weight. Lead with the frame that makes the camera desirable, but let the rest make it understandable. Old cameras have earned their marks. Good listing photography does not polish that history away; it gives each mark enough light to speak plainly.