

Photography, Photo Editing and Analog Camera Guides
Practical guidance for stronger photographs, thoughtful edits, restoration, printing and analog craft.
Photography, Photo Editing and Analog Camera Guides
A photograph can be technically clean and still feel uncertain. The light may be pleasant, yet the subject disappears into the background; the restoration may remove every speck, yet lose the paper texture that made the original feel alive. Antique Cameras Argentina begins with that visible problem: what should the viewer notice, and which decision will help them notice it?
This publication covers photography as a connected craft, from choosing the frame and controlling light to shaping tone, color and texture in an edit. The aim is not to collect adjustments for their own sake. It is to understand what each adjustment does to the image, where it helps and when the photograph is already saying enough.
Editing and restoration receive the same deliberate treatment. That means distinguishing damage from grain, protecting important highlights, keeping skin believable and preserving an untouched original before reconstructing missing detail. Digital tools are useful, but the strongest edit usually comes from restraint: fewer competing elements, clearer tonal relationships and a stopping point chosen with the whole image in view.
The finished image matters too. A crop that works on a screen may feel cramped in a print, while color that looks vivid on one display may shift on paper. The publication therefore follows photographs into scanning, layout, photographic design and printing, always returning to the character of the source image rather than treating it as interchangeable decoration.
Find the guide that matches your image
Start with the stage where the image is resisting you. If you are still making the photograph, look for guidance on light, composition, exposure, focus and truthful equipment evaluation. These choices determine what the file or negative can offer later, and a thoughtful capture usually gives an edit more room without demanding unnecessary repair.
If the photograph already exists, identify the problem before choosing the tool. Dust requires a different response from grain; low contrast is not the same as poor focus; an awkward crop cannot always be rescued by adding detail. Editing guides emphasize these distinctions so that the method fits the image rather than forcing every photograph through the same recipe.
For scanned prints and negatives, begin with preservation and organization. Keep an untouched master, work on a copy and separate broad tonal corrections from local cleanup or reconstructed detail. This makes experimentation safer and keeps historical texture from being erased alongside scratches, stains and dust. A cleaner image should not become a strangely polished one.
When the destination is a print or design, read with the final dimensions and viewing conditions in mind. Check the required aspect ratio, resolution, color profile, bleed and file format with the chosen printer or production method. Then assess the result at realistic scale. A photograph should carry its focal point, tonal shape and texture into the finished object.
Latest photography and image-making guides

How to Photograph Large Artwork on a Wall Without Distortion or Uneven Light
A practical method for photographing large paintings and prints that must remain on the wall, with straight edges, even illumination, controlled glare and dependable color.
Read more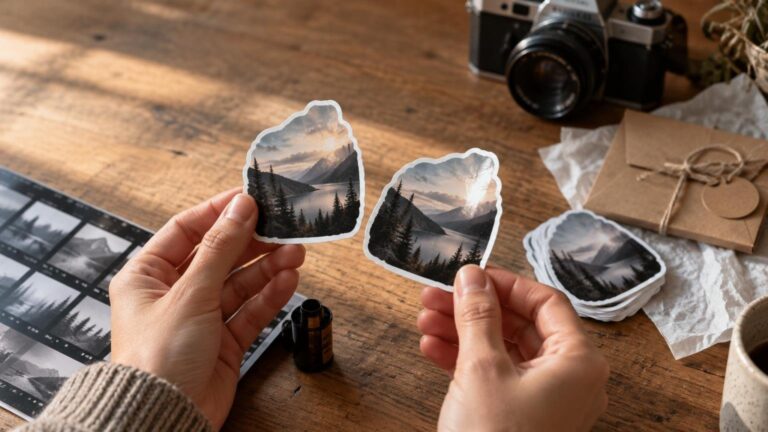
CustomStickers.com vs YouStickers for Photographer Merch and Packaging
A photographer-focused comparison of CustomStickers.com and YouStickers for die-cut art stickers, client packaging, gifts and recurring studio orders.
Read more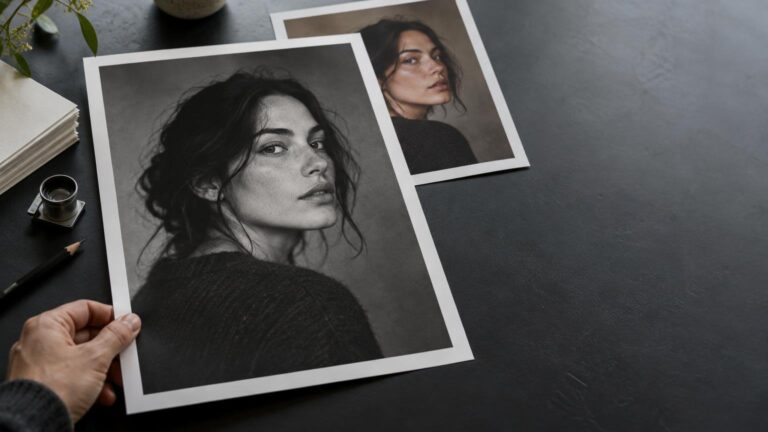
Black-and-White Conversion for Portraits: How to Keep Skin From Looking Flat
Learn how to translate color into useful gray values, preserve facial shape and texture, and keep eyes and hair distinct without harsh global contrast.
Read more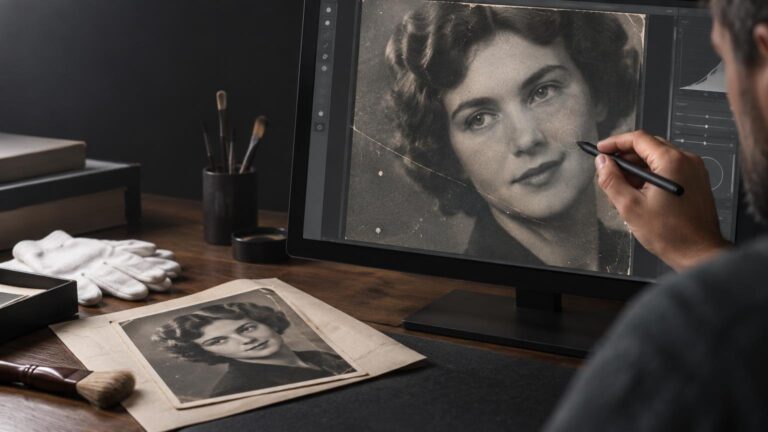
How to Remove Dust and Scratches From a Scanned Photo Without Smearing Detail
A restrained workflow for cleaning scanned photographs without mistaking grain, skin, fabric, paper texture or historical evidence for damage.
Read more
How to Crop One Portrait for 4×6, 5×7 and 8×10 Prints
Turn one portrait into thoughtful 4×6, 5×7 and 8×10 print crops by treating each aspect ratio as a fresh composition rather than a simple resize.
Read more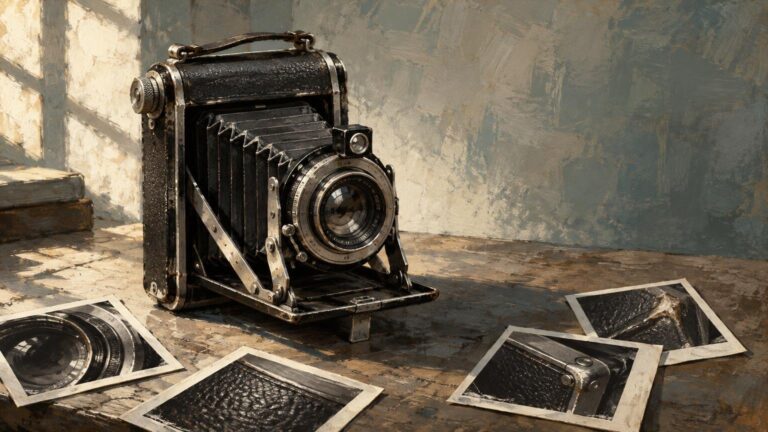
How to Photograph a Vintage Camera for an Online Listing
Create an appealing but truthful set of listing photographs that identifies a vintage camera, documents its condition, and separates visible evidence from functional testing.
Read moreThe Most Damning Things About LG Come From LG’s Own Website
TLDR You do not need Gamers Nexus, a privacy activist, a regulator, or an angry columnist to make LG’s Smart […]
Read more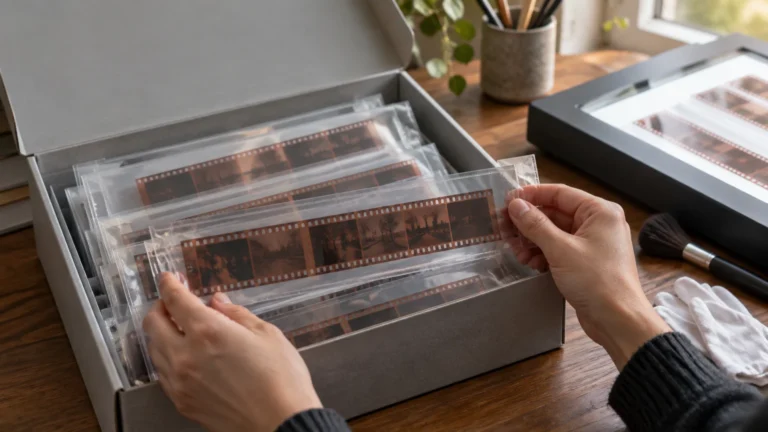
How to Store Negatives Before Scanning So Dust and Scratches Stay Manageable
A practical workflow for handling, sleeving, labeling and staging film negatives so they stay cleaner, flatter and easier to scan.
Read moreReview of the Pentax K1000: A Classic Gem of Photography
The Pentax K1000 remains a satisfying 35mm SLR for learning manual exposure and focus, provided you buy on tested condition rather than reputation alone.
Read moreKeep the photograph at the center
Technique is most useful when it serves a visible intention. Before changing settings or moving a slider, decide whether the image needs a clearer subject, gentler contrast, more believable color, stronger texture or a quieter edge. That small decision makes the rest of the process easier to judge and prevents corrections from becoming habits.
The publication also keeps film and older cameras in the conversation without pretending that age makes every object wonderful. Mechanical condition, handling, format and intended use matter more than reputation alone. Analog character may come from grain, lenses, materials and process, but it still benefits from careful exposure, thoughtful framing and honest evaluation.
For artists digitizing physical work, the path begins with a faithful capture or scan. For designers beginning with photographs, it begins with understanding which visual qualities must survive the layout. For image editors, it may begin with a damaged negative or a difficult color cast. Different tasks, certainly, but all require looking before correcting.
A good final check is simple: view the image at its intended size, then look away and return. Notice where your eye lands first, whether important texture survives and whether anything feels louder than the subject. If the image reads clearly and still retains its particular character, the work may be finished. Not every slider needs a heroic ending.