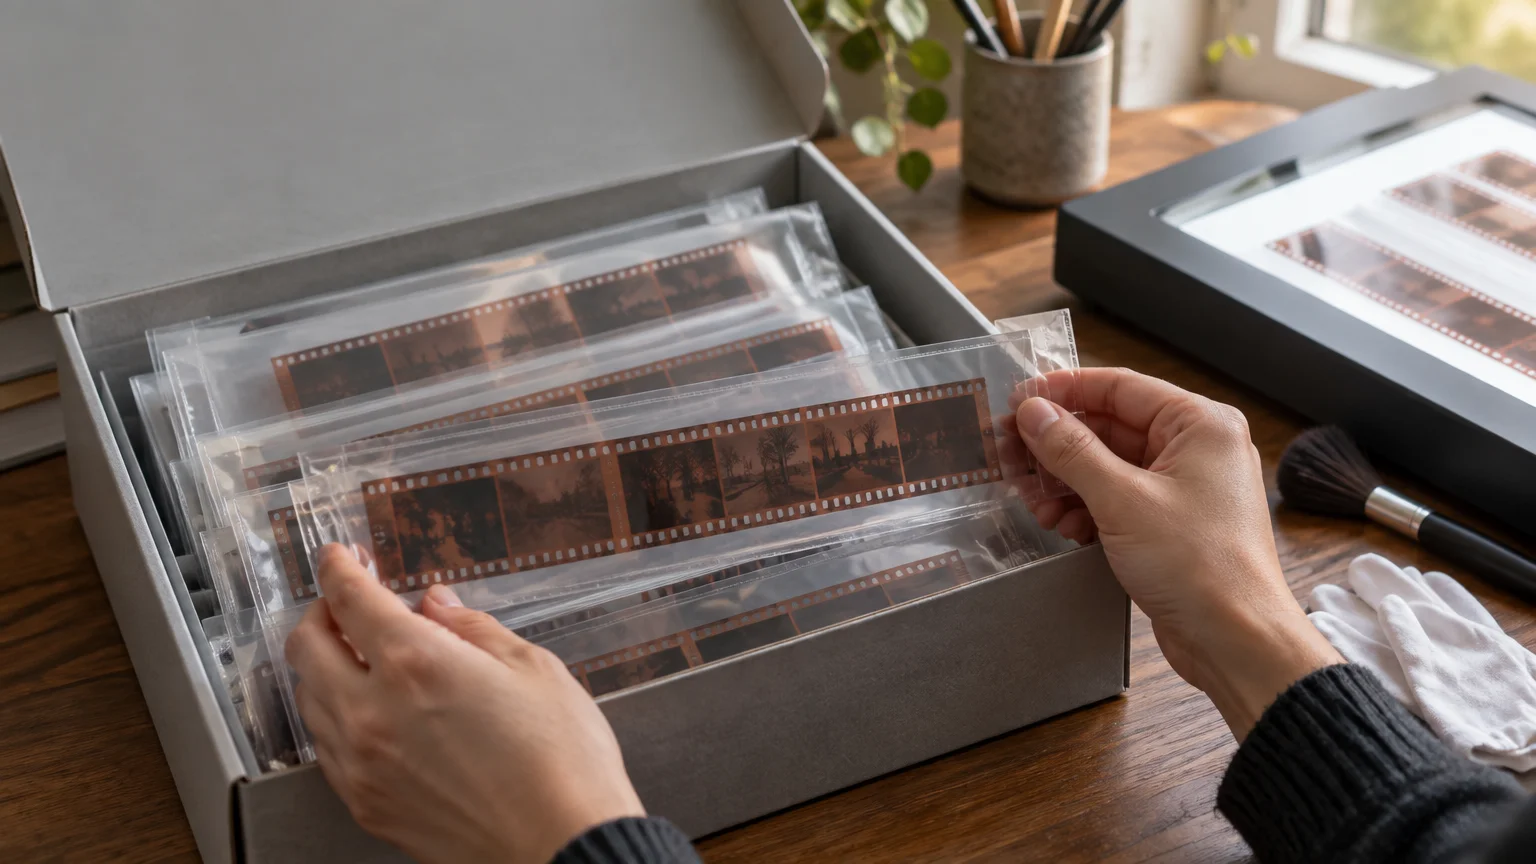
TLDR: The shorthand question “store negatives before scanning dust scratches” comes down to prevention: handle film by its edges, place it in suitable photographic enclosures, support it flat, label the enclosure and remove only a few strips at a time for scanning. Store the archive in a clean, cool, dry and stable interior space. If film is sticky, mouldy, flaking, badly warped or smells like vinegar, stop before cleaning or re-sleeving it.
A good scan should reveal the photograph: the pale detail in a cloud, the texture of a coat, the expression that almost disappeared between frames. It should not become a long retouching exercise devoted to fingerprints, embedded dust and fresh scratches. Storage cannot reverse damage already present, but careful handling can keep you from adding another layer of defects before the negative reaches the scanner.
Handle every negative as though both sides matter
Do not press a finger against either face while trying to determine which side carries the emulsion. Pick up a strip by its edges and avoid dragging it across a table, scanner bed or neighboring strip. The Library of Congress recommends avoiding contact with the film face, using clean nitrile gloves to prevent fingerprints and keeping film away from food, drink and dust. Its guidance also cautions that cotton fibers can be abrasive. Library of Congress film-care guidance
Fresh, well-fitted nitrile gloves are useful when handling unsleeved film, particularly during a sorting session involving many strips. Loose gloves can reduce control, however, so the important point is deliberate edge handling. Keep the work surface clean and dry, move one strip at a time and never pinch the image area. The Canadian Conservation Institute likewise recommends picking unsleeved negatives up by their edges while wearing lint-free gloves.
- Clear food, drinks, pens, tape and loose tools from the work area.
- Clean and dry the surface before opening an archive box.
- Prepare the destination sleeve and its label before removing the film.
- Hold one strip by its edges without flexing it.
- Return the strip to an enclosure as soon as the task is complete.
Choose sleeves made for photographic materials
The word “archival” on a packet is not a complete specification. For plastic film negatives, established conservation guidance identifies uncoated polyethylene and polyester as suitable enclosure materials; acid-free paper envelopes can also be appropriate in relevant storage arrangements. The Canadian Conservation Institute advises looking for enclosure materials that pass the Photographic Activity Test, or PAT, under ISO 18916:2007.
PAT testing is more useful than relying on a broad claim such as “acid-free,” particularly for a transparent plastic sleeve. Buy an enclosure intended for photographic collections and confirm its material rather than using an office document wallet of unknown composition. Avoid adhesive tape, rubber bands, sticky notes touching the film and sleeves with coatings or plasticizers that are not identified for photographic use.
Choose pockets that fit the format and strip length without forcing the negative into a tight channel. A sleeve should prevent loose movement while still allowing the strip to enter and leave without scraping. If film repeatedly catches at the opening, replace the enclosure rather than pushing harder. The archive should feel pleasantly uneventful: no tight bends, sharp clips or mysterious adhesive residue.
Store strips flat, supported and easy to retrieve
Sleeved strips need a second layer of physical support. Place pages in a properly supported binder or use sleeves and envelopes inside a protective photographic storage box. Do not overfill either system. Crowded pages encourage bending, while loosely piled strips slide against one another whenever the box is moved.
Keep the orientation consistent and assign each roll a clear position. For example, place strips in frame order, give the roll a unique identifier and record that identifier on the page or envelope. This makes retrieval faster and reduces the temptation to pull out half the archive to find one photograph.
Some old film will not lie perfectly flat. Do not try to correct a curl by folding the strip backward, pressing it beneath a heavy object or cramming it into an undersized sleeve. Gentle support is preferable to forced flattening. A compatible scanner holder can position ordinary film during digitization; Epson, for example, instructs users of relevant scanners to hold film by its edges and place it in the holder or film guide designed for that model.
Control the room as well as the enclosure
A fine sleeve cannot compensate for a damp basement, hot attic or dusty shelf beside a vent. Photographic materials benefit from a relatively dry, cool, clean and stable environment. The Library of Congress advises avoiding attics, basements, exterior walls, radiators, vents, leaks and places subject to large environmental changes. Protective folders and sleeves reduce exposure to dust, light and handling, but they remain part of a larger storage system.
An interior cupboard in a regularly occupied part of the home is generally a better starting point than a garage or shed. Keep boxes off the floor and away from plumbing. Stability matters: repeated changes in heat and moisture can be more troublesome than a modest but steady domestic environment.
Do not apply one universal temperature or humidity target to every photographic object. Cellulose nitrate, cellulose acetate, polyester film and glass plates do not all have identical storage needs. Cold storage also requires suitable packaging and acclimatization procedures; it is not simply a matter of putting negatives in a household refrigerator.
Label the enclosure, never the image area
Record the roll number, approximate date, place, people and film format on the sleeve, page or box—not on the negative. The Canadian Conservation Institute specifically advises against writing on negatives with ballpoint or felt-tip pens.
Label an empty enclosure before inserting film so pen pressure cannot emboss the strip beneath it. Keep the system simple enough to maintain. A useful entry might read “R024 — Córdoba — family lunch — estimated 1988 — strips 1–6.” If the date is uncertain, say so rather than turning a guess into archive history.
A matching digital filename makes the later scan easier to identify. Roll R024, strip 03 and frame 18 might become R024-S03-F18.tif. The physical negative remains the original object; the scan is a digital interpretation that can be duplicated, edited and prepared for different outputs.
Use a small scanning queue
Repeatedly opening every page creates more opportunities for dust, fingerprints and accidental contact. Instead, prepare a small queue—perhaps the next two or three strips—and keep everything else enclosed.
- Choose the roll and create its digital folder before handling the film.
- Remove only the next strip and inspect it under gentle, raking light.
- Check the scanner holder and surrounding work area for visible debris.
- Load the strip by its edges without forcing it into the holder.
- Scan, verify the file and return the strip to its labeled enclosure.
- Finish the small queue before opening another archive box.
This sequence also prevents a familiar archival tragedy: several unidentified strips resting beside a scanner after the original order has been forgotten. Work slowly enough that every negative has an obvious route back home.
Be conservative about cleaning before scanning
Loose dust can reduce scan quality, but cleaning is not automatically harmless. The Canadian Conservation Institute notes that even low-intervention surface cleaning may mechanically scratch a vulnerable gelatin emulsion, especially when the material has deteriorated.
Begin with inspection rather than treatment. If the film appears sound and only has a few loose particles, follow conservative instructions appropriate to that film and your scanner setup. Do not improvise with household cleaners, solvents, adhesive rollers, vigorous rubbing or canned-air blasts. A stubborn mark is often safer to address in a duplicate scan than through an uncertain treatment of the only negative.
Keep contaminated or damaged film out of clean sleeves. Place it in an appropriate separate enclosure while seeking condition-specific advice. Routine plastic re-sleeving may itself be risky when an emulsion is friable or lifting because static can disturb damaged material.
Know when to stop and seek preservation advice
Pause the ordinary scanning workflow if a negative is sticky, attached to its sleeve, cracked, flaking, mouldy, water-damaged, severely warped or giving off a vinegar-like smell. Vinegar odor, wrinkling and warping can indicate deterioration in cellulose acetate film. Suspected nitrate film requires particular caution because deteriorated nitrate presents serious fire and toxicity concerns.
Do not separate stuck layers by force or place visibly unstable film into a scanner holder simply to “get one scan first.” Isolate the affected material from the clean working group without unnecessary handling, keep it away from heat and ignition sources, and consult a photographic conservator or qualified archive. The condition of the object—not the scanning schedule—sets the pace.
Dust, scratches, grain and resolution are different problems
Dust is material sitting on or near the film. A scratch is physical damage to a surface or image layer. Grain is part of the film image structure, while scanner noise is introduced by the capture system. Treating all four as generic speckles encourages heavy-handed corrections that can erase genuine texture.
Infrared or software-assisted dust removal can be useful with compatible film and equipment, but it is not a substitute for careful storage. Epson warns that unnecessary dust-removal or DIGITAL ICE processing can blur or distort a scan, and the cited implementation does not support standard monochrome negative film. Check the current manual for the particular scanner, software and film type before enabling it.
Resolution deserves the same restraint. Choose a scanning resolution in relation to the intended output, crop and film format. Epson describes scanner resolution as a measure related to enlargement capability rather than an automatic measure of image quality. More sampled pixels cannot recreate detail that the lens, focus, exposure or film never recorded, and an advertised resolution does not guarantee that every nominal pixel contains distinct photographic information.
Make a clean, conservatively processed master scan before performing scratch repair, grain reduction, sharpening or creative contrast work. Preserve that master alongside edited derivatives. If tomorrow’s restoration goes too far—and sliders occasionally acquire enthusiasm of their own—you can return to the quieter interpretation without rescanning the original.
Make the archive easier on your future self
Start with one box rather than reorganizing an entire collection at once. Prepare suitable enclosures, choose a numbering convention and process each roll in order. Separate stable film from items needing specialist assessment. Then scan in small batches and return every strip immediately.
Before closing the box, perform one last viewing check: are the strips supported without pressure, are the labels readable, and can the next roll be found without touching the others? If so, the storage system is doing its job. The easiest dust and scratch cleanup is the damage that never reaches the negative in the first place.
References
- Care, Handling, and Storage of Motion Picture Film – Collections Care (Preservation, Library of Congress)
- Basic care – Photographic materials – Canada.ca
- Care of Plastic Film-based Negative Collections – Technical Bulletin 35 – Canada.ca
- Placing Film in the Film Area Guide
- Care, Handling and Storage of Photographs – Collections Care (Preservation, Library of Congress)
- Information Leaflet on the Care, Handling, and Storage of Photographs – Collections Care – Resources |Preservation | Library of Congress
- Caring for photographic materials – Preventive conservation guidelines for collections – Canada.ca
- User’s Guide – Epson Perfection V600 Photo
- Removing Dust and Scratch Marks from Originals Using DIGITAL ICE Technology
- faq-00009d0-exp13000xl | SPT_B11B257201 | Epson Expression 13000XL | Expression Series | Scanners | Support | Epson US